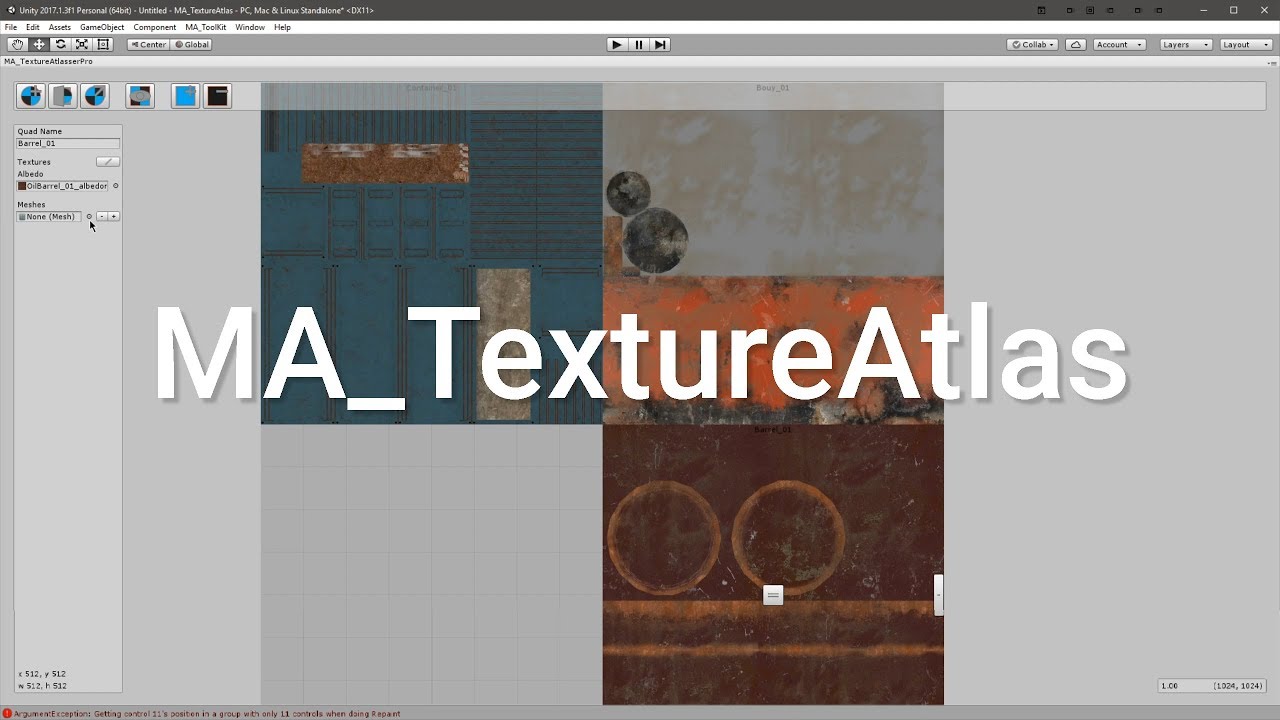
How to use MA_TextureAtlasser to create texture atlases for your 3D models in Unity
If you are working on a 3D project in Unity, you might have encountered the problem of having too many textures for your models, which can affect the performance and loading time of your game. One way to solve this problem is to use texture atlases, which are large textures that contain smaller textures arranged in a grid. By using texture atlases, you can reduce the number of draw calls and texture switches, and optimize the memory usage and bandwidth of your game.
*IF YOU'RE USING THEM IN A PRODUCT, YOU MUST BUY THEM. 💰*
However, creating texture atlases manually can be tedious and time-consuming, especially if you have complex models with multiple materials and UV channels. That’s why I recommend using MA_TextureAtlasser, a free and open-source tool that allows you to create texture atlases for your 3D models in Unity with ease.
MA_TextureAtlasser is a texture atlas creator tool for Unity that was developed by Max Artshttps://github.com/maxartz15/MA_TextureAtlasser. It allows you to combine textures and/or remap the UVs for your 3D models in a visual editor. You can also use it to make 2D sprite sheets if you want.
How to install MA_TextureAtlasser
To install MA_TextureAtlasser, you can download the latest release from its GitHub pagehttps://github.com/maxartz15/MA_TextureAtlasser/releases as a unity package file. Then, you can import it into your Unity project by going to Assets > Import Package > Custom Package and selecting the downloaded file.
Alternatively, you can clone or download the source code from GitHubhttps://github.com/maxartz15/MA_TextureAtlasser and copy the Assets folder into your project.
How to use MA_TextureAtlasser
To use MA_TextureAtlasser, you need to open its window by going to Window > MA > Texture Atlasser. You will see a window like this:
The window has four main sections:
- The toolbar at the top is where you can create, save, load, export, and import texture atlases.
- The atlas list is on the left, where you can see and select the texture atlases in your project.
- The atlas editor is on the right, where you can edit the properties and elements of the selected texture atlas.
- The atlas preview is at the bottom, where you can see what the texture atlas looks like.
To create a new texture atlas, you need to click on the New Atlas button in the toolbar. You will be prompted to enter a name for your texture atlas. Then, you will see a new entry in the atlas list with the name you entered.
To add elements to your texture atlas, you need to drag and drop textures or models from your project into the atlas editor. You can also click on the Add Element button in the toolbar and select a texture or model from a file browser.
Each element has a name, a color, a position, a size, and a priority. You can edit these properties by selecting an element and using the inspector on the right side of the atlas editor. You can also use the handles on the element to resize and move it.
*** IF YOU'VE FOUND A BUG OR BROKEN LINK, PLEASE LET US KNOW. 🐞🔗 **


